
| Min. Order: | 5 Set/Sets |
|---|---|
| Payment Terms: | T/T, WU |
| Place of Origin: | China (Mainland) |
| Means of Transport: | Ocean, Air |
| Production Capacity: | 3000sets/month |
| Packing: | Neutral Packaging |
| Delivery Date: | one week after payment |
| Brand Name: | Starway | Light Souces: | LEDS(G-3) |
|---|---|---|---|
| Work voltage: | DC 12/24V | Consume electric current: | ≤1.2A |
| Warning lighthead color: | Red / Blue / Amber / Clear / Green | Power supply way: | Constant voltage current control |
| Flash patters: | 18 |
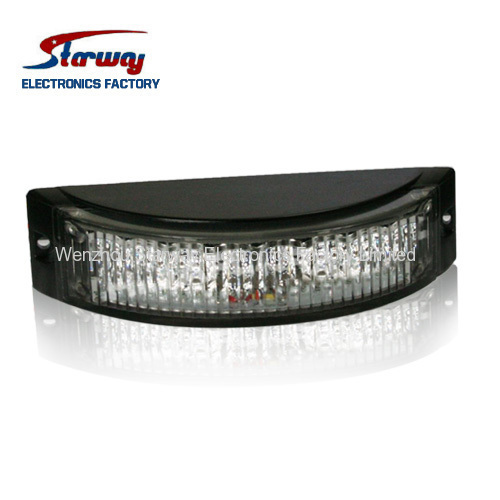
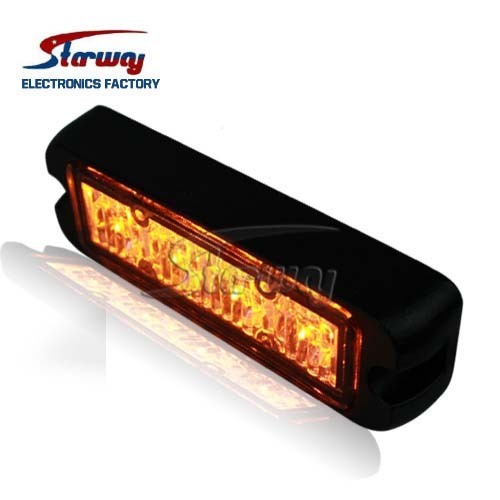
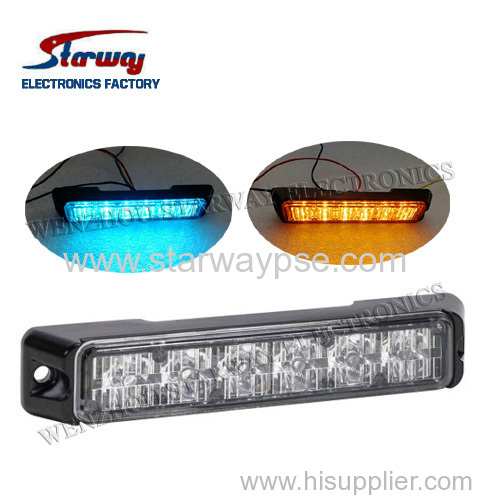
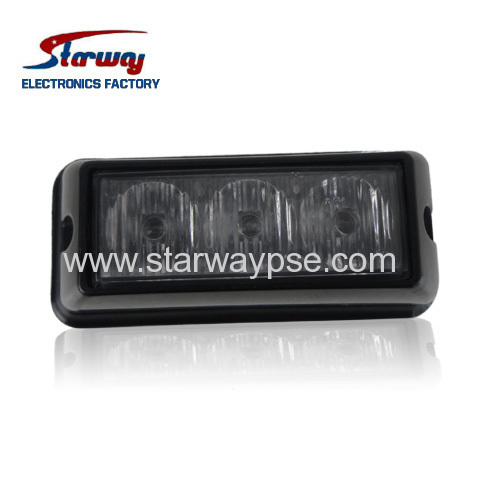
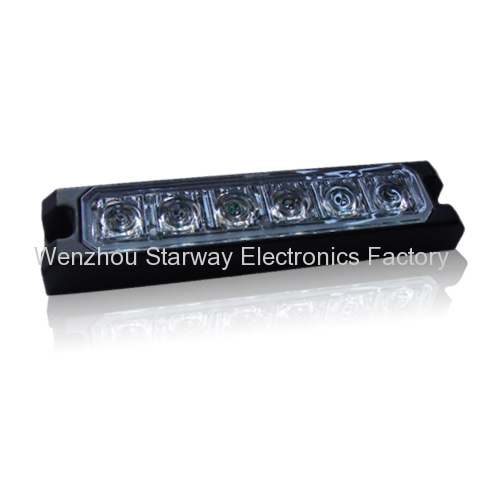
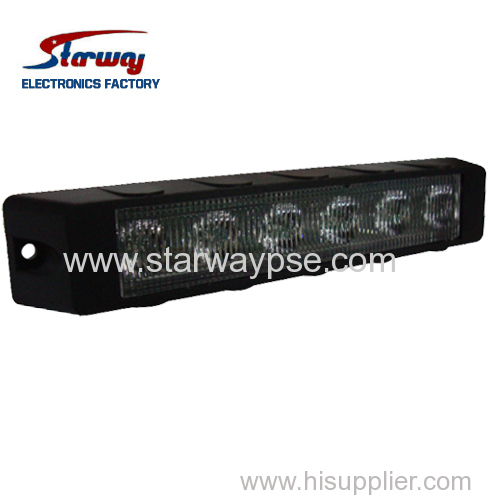
LED265 LED Surface Mount Emergency Lightheads
1. Summary
This LED Surface Mount Emergency Lightheads is made of high power high brightness LED,it use microcomputer programming chip,and constant voltage circuit design, It has high brightness, low power loss, long life and so on the merits, it has a lot of kinds of flash pattern offer to choose and power off memory function. Suit install in automobile vehicle.
2. Features
1). G-3 LEDs with 8 bulbs
2). 18 flash patters to pick up and can flash two lightheads together for synchronization .
3). Weather-proof housing
4). Perfect for rearview mirror, grille and rear deck applications
5). Perfect for police fire EMS and construction vehicle lighting and airforce
6). Waterproof and shakeproof
3. Specifiation
Work voltage | DC12V/DC24V |
Consume electric current: | <=1.2A |
Environment | -40 ℃~ +50 ℃ |
Warning light color | Red / Blue / Amber / Clear / Green |
Power supply way | Constant voltage current control |
Lens material | PC |
Flash patterns | 18 |
4. Mounting
A. Position the unit in its proposed mounting location. Draw a pencil line onto the mounting surface along the top and bottom of the extrusion and a "centerline" centered between the two.
B. Two 1/4" holes are required to mount this unit. These holes may be located anywhere along the holes as far apart as possible. Mark the hole location onto the mounting surface.
C. Using a 1/4" drill bit, drill a hole in each of the areas scribed in the previous step.
D. Slide the 2 carriage bolts (installed in the rear of the bar) insert them into the mounting holes.
E. Secure the unit by threading the flat washer and elastic stop nut onto each bolt and tightening them firmly.
5. Wiring
See illustration below for wiring information
WARNING! All customer-supplied wires that connect to the positive terminal of the battery must be sized to supply at least 125% of the maximum operating current and at the battery to carry the load. DO NOT USE CIRCUIT BREAKER SWITH THIS PRODUCT!
6. Operation
The patterns are controlled with the YELLOW wire. To advance to the next pattern, apply +VDC to the YELLOW wire for once. To reset to the factory default pattern applying +VDC to the YELLOW wire for quickly three times. (This unit is not factory set at pattern 1).
7. Synchronization and alternating
If flash two lightheads together for synchronization, must connect the YELLOW wires of the two lightheads. If want flash the two lightheads together for alternate, connect the two YELLOW wires and let one of the GREEN wire connect to the +VDC.
Flash Patterns:
(1). Random (default)
(2). Single (split)
(3). Quad (split)
(4). Quint (split)
(5). Mega (split)
(6). Ultra (split)
(7). Single-Quad (split)
(8). Single H/L (split)
(9). Single (all)
(10). Double (all)
(11). Quad (all)
(12). Quint (all)
(13). Mega (all)
(14). Ultra (all)
(15). Single-Quad (all)
(16). Single H/L (all)
(17). Steady 2 (california)
(18). Steady 4 (all)
Note:
The LED Surface Mount Emergency Lighthead has no work, please check the main fuse
Workshop:
Applications:
Police, Fire, The Automotive, Police, Fire, Motorcycle, Construction,Emergency Vehicle and School Bus Industries
Category: Grilles/Surface Mounts